Setting up a site on GitHub
What this section covers
How to start a new repository and site
How to add your first data
How to run the tool and see the website that results
Create a repository on GitHub & clone it
The data will be stored in GitHub.
Create a new repository in GitHub and select the Add a README file option.
Clone this repository to your local computer.
Set up a DataTig site
In order for DataTig to know that a git repository has data it can process, it needs a configuration file.
In the top level of the repository, create a file datatig.yaml. It’s contents should be:
title: Local Cycling Resources in CityCity
description: Listing all the useful cycling resources in CityCity
Commit that new file to Git and push to GitHub.
Now let’s add our first resources!
Start with some bike shops
You decide that listing bike shops is a good thing to do.
It’s always handy to be able to get a small part quickly.
Create a directory called shops.
We are going to store our information in a YAML file, one per shop.
Create a file called alices-bikes.yaml in the shops directory. For the contents, put:
title: Alice's Bikes
url: http://www.alicesbikeshop.co.uk/
Create a file called bobs-bikes.yaml in the shops directory. For the contents, put:
title: Bob's Bikes
url: http://www.bobsbikeshop.co.uk/
Commit these 2 new files to Git and push to GitHub. We’ve just added our first data!
Tell DataTig about this new data
Just adding data to the repository isn’t enough; we have to tell DataTig about the new data.
To do this, we add information to the datatig.yml file we created earlier. Set it’s contents to be:
title: Local Cycling Resources in CityCity
description: Listing all the useful cycling resources in CityCity
# Every type of data we list should have an entry here
types:
# This defines the shops data
# Every type should have an unique identifier
- id: shops
# For every type, we need to know in which directory we can find the data
  directory: shops
Commit this change and push to GitHub.
Install DataTig
This is the minimal information needed to actually run DataTig, so let’s do that now!
First install it:
pip install datatig
Use DataTig to check your data
Now we’ll run the tool over your data.
The tool can do several actions. It can check the data to make sure that it is in the correct format. To do so, run:
python -m datatig check .
This should run with no output, meaning there were no errors.
Use DataTig to build a website about your data
The tool can also build static files that can be served as a website.
This website contains the data in several useful forms.
First, let’s build the website.
python -m datatig build . --staticsiteoutput _site
This should build fine (you will not see any output) and in the new _site directory that just appeared, you should see some files.
We can serve these so they are easy to open in your web browser.
sh -c "cd _site && python3 -m http.server"
Now open a web browser and go to http://localhost:8000/
You should see a basic website with a link for shops.
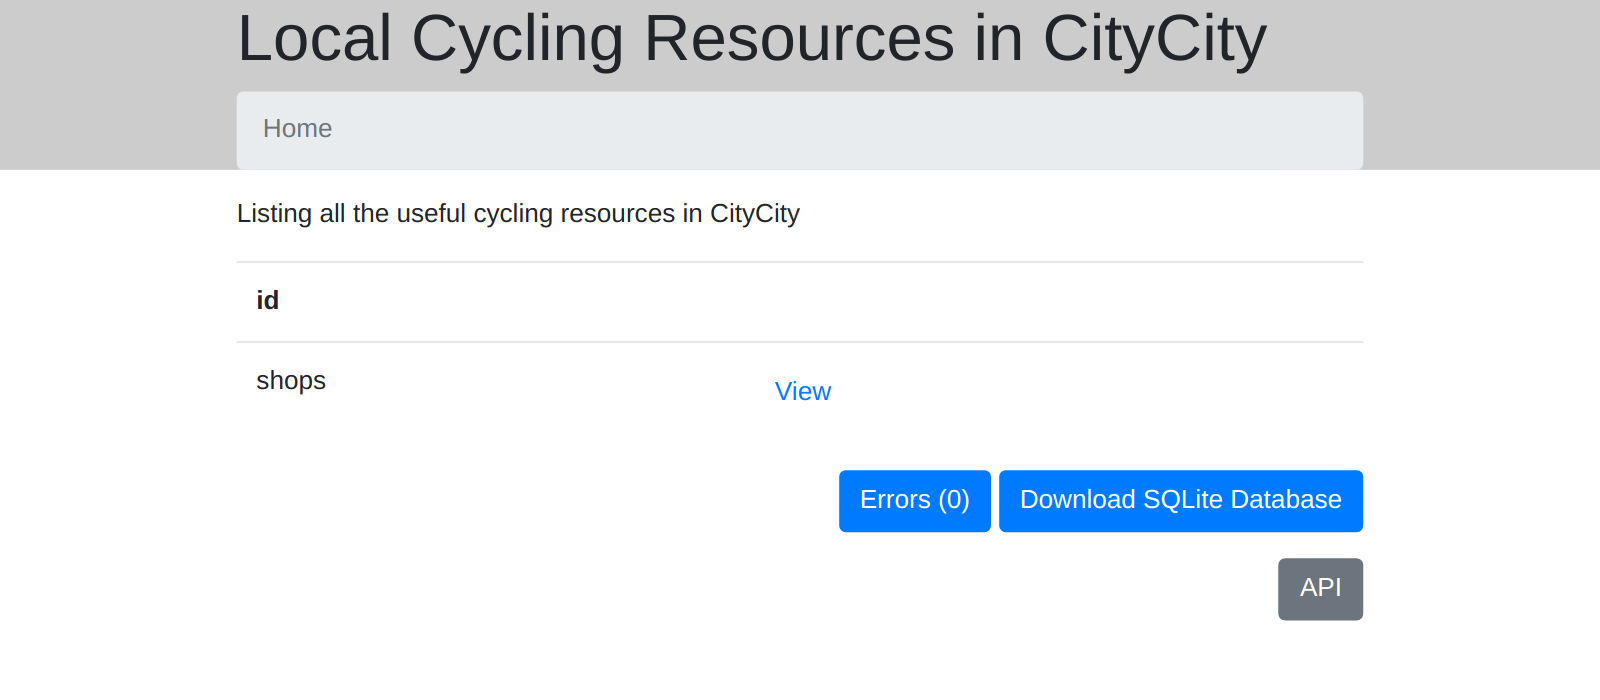
Clicking on “shops” will let you explore the 2 shops we just added. But it only shows us basic information - let’s see if we can make that more helpfull.